[affiliate-disclosure]
Last updated: March 2026 by Jaylen Torres, Black Men’s Grooming Writer
I started my wave journey at 16 with a $4 Sportin’ Waves tin, a medium brush from the beauty supply, and absolutely no idea what I was doing. I brushed for three days, saw nothing, and almost quit. My cousin told me to give it six weeks. Six weeks felt like six months. But when I pulled that durag off at week five and saw ripples catching the bathroom light for the first time, I understood what every waver means when they say “trust the process.” That was four years ago. I have not stopped brushing since.
360 waves are not a hairstyle you get at the barbershop. They are a trained curl pattern that you build through daily brushing, consistent compression, and the discipline to let your hair grow when every instinct tells you to cut it. This guide covers everything: the products you actually need, brushing technique broken down by zone, the wolfing schedule that builds real depth, and an honest timeline so you know what to expect week by week.
If you just want the product list, skip to Best Products for 360 Waves. If you want to understand the full system, keep reading.
[table-of-contents]
What Are 360 Waves?
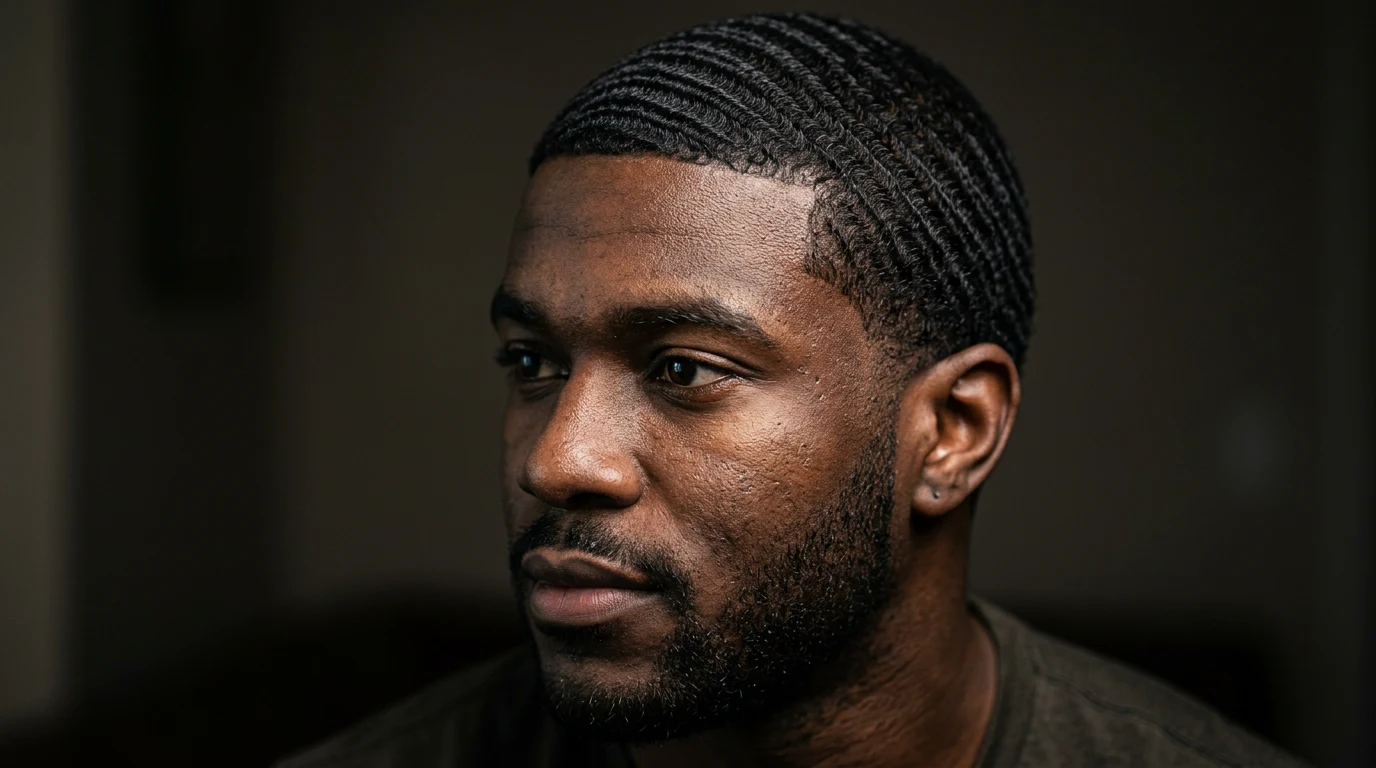
360 waves are a hair pattern created by brushing naturally curly or coily hair in consistent directions over weeks and months until the curls lay flat in visible ripples. The “360” means the waves radiate outward from your crown in every direction, covering the top, sides, and back of your head in one continuous pattern.

Let me be clear about what waves actually are, because a lot of people get this wrong. You are not creating waves from nothing. Your hair already has a natural curl pattern. What you are doing is training every curl on your head to lay in the same direction, compressing it into place with a durag, and repeating that process until your hair holds that shape permanently. It is curl manipulation through repetition.
A Brief History
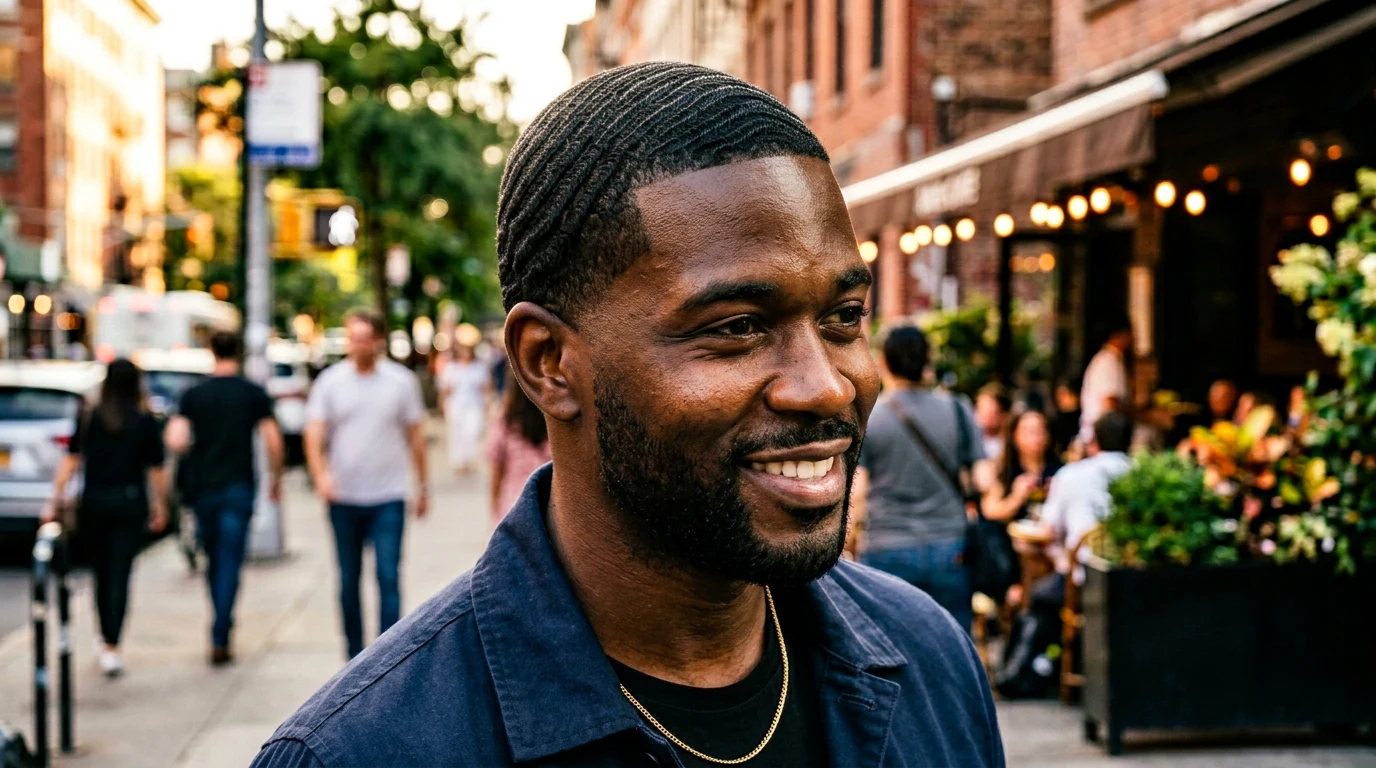
Waves have been part of Black men’s grooming culture for decades. They became iconic in the 1990s and early 2000s when artists, athletes, and everyday brothers in barbershops across the country made them a status symbol. Having waves meant you had discipline. You put in the work. In barbershop culture, pulling off your durag to reveal a clean pattern is a statement. It says something about who you are and how seriously you take your presentation. That tradition is alive and well today. The wave check is still one of the most respected moments in the culture.
360 vs 540 vs 720 Wave Patterns
The numbers refer to degrees of rotation in your wave pattern:
- 360 waves: Waves flow outward from the crown in a full circle. This is the standard pattern and where every beginner should start. Your brush strokes radiate outward from the center of your head in every direction.
- 540 waves: An additional half rotation that wraps the waves further around your head. The pattern connects more deeply, especially on the sides and back. This takes months of dedicated wolfing to develop.
- 720 waves: A double rotation where the wave pattern spirals outward from the crown and wraps around your head twice. This is elite territory. Most wavers who achieve 720s have been training their pattern for a year or more.
Start with 360. Master the fundamentals. The deeper patterns come naturally as your hair learns direction over multiple wolf cycles.
Hair Types That Can Get Waves
360 waves work on type 3C through 4C hair textures. The tighter your natural curl, the more defined your waves will be once trained. Here is how different textures respond:
- 4C hair: Tightest coils, creates the deepest wave impressions. May take slightly longer to show visible pattern (six to eight weeks) but produces the most defined results once established.
- 4B hair: Pronounced z-pattern curls. Great wave texture, responds well to medium and hard bristle brushes.
- 4A hair: Defined S-pattern coils. Waves form relatively quickly, usually visible within four to five weeks.
- 3C hair: Tight curls with less coil. Achievable with harder brushes, stronger hold products, and longer wolfing periods. Requires more compression time.
Anything straighter than 3C will not produce a true 360 wave pattern. That is not a limitation of technique. It is a matter of curl structure.
The Truth About Timing
Anyone telling you that you can get waves in a week is lying. The minimum timeline for a visible wave pattern on a beginner is four to six weeks of consistent daily brushing and compression. A fully defined, deep 360 pattern takes three to six months. I know that sounds like a long time. But every waver who has a pattern worth showing went through those same weeks of brushing and seeing nothing. The process works. You just have to outlast the doubt.
What You Need to Get Started
One of the biggest mistakes new wavers make is buying 10 products before they even know their brush pattern. You need four essentials and one quality that no product can replace.
The Essentials Checklist
- Wave brush (medium bristle for beginners): This is your primary tool. A Torino Pro #730 Medium Brush is the best starting point. Medium bristles are firm enough to train your curl pattern without tearing up your scalp on short hair.
- Durag or wave cap: Compression holds your hair in the brushed position while the curls set. The Wavebuilder Premium Velvet Durag delivers the heaviest compression for wave training.
- Wave pomade or cream: Sportin’ Waves Pomade has been the standard for decades. Affordable, clean hold, no flaking.
- Sulfate-free shampoo: Regular shampoo strips the oils your waves need. WaveBuilder Wave Shampoo cleans without disrupting your pattern.
- Patience: This is the one you cannot buy. More wave journeys fail because of impatience than because of bad products or wrong technique.
Starter Kit Cost Breakdown
| Item | Product | Price Range | Purpose |
|---|---|---|---|
| Medium brush | Torino Pro #730 | $12-18 | Daily brushing, pattern training |
| Velvet durag | Wavebuilder Velvet Durag | $8-15 | Compression and pattern setting |
| Wave pomade | Sportin’ Waves Pomade | $3-5 | Hold and moisture |
| Wave shampoo | WaveBuilder Wave Shampoo | $6-9 | Gentle cleansing |
Total startup cost: $29 to $47. Less than one barbershop visit in most cities. For a full breakdown of every wave brush type, check our best wave brush roundup. For durag options, see the best durag for waves guide.
How to Get 360 Waves: Step by Step
This is the system. I follow this same routine today that I followed when I first started, with minor adjustments as my pattern deepened. Every step matters.
Step 1: Get the Right Haircut
Go to your barber and ask for a 1.5 or 2 guard cut with the grain (WTG). This is critical. Cutting against the grain disrupts the curl direction you are trying to train. Tell your barber you are starting waves so they know to follow the natural growth pattern. If your barber does not understand WTG cutting for waves, find one who does.
For your first cut, a 2 guard is safer. It leaves slightly more length, which gives you a head start on training. If you are doing maintenance cuts at home, see our guide to the best clippers for Black men.
Step 2: Apply Your Wave Cream or Pomade
Take a dime-sized amount of wave pomade and rub it between your palms until it warms up. Then distribute evenly across your head, starting from the crown and working outward. You want a thin, even coat. Too much product weighs the hair down and creates buildup that blocks your wave pattern. Too little means the brush drags and pulls.
A quick note on product types: wave grease (petroleum-based) gives the strongest hold but causes heavy buildup over time. Water-based pomade balances hold and moisture without the buildup problem. Moisturizers add hydration with minimal hold. For beginners, water-based pomade is the safest choice. Our best wave grease roundup covers all the options.
Step 3: Brush in the Right Pattern
This is where it all happens. Set a timer for 10 to 15 minutes. Every single brush stroke starts at your crown and pushes outward toward your hairline. Your crown is the natural spiral point at the top-back of your head where hair radiates outward. Think of it as the center of a clock face. You are brushing outward in every direction from that center.
The four zones:
- Top/Front: Brush from crown forward toward your forehead. Overlapping strokes, each covering about an inch of width. Work from center outward to each temple.
- Sides: Brush from the top of your head downward toward your ears. Start at the part line and brush straight down. Cover the full side. Spend at least three minutes on each side because this is the zone most beginners neglect.
- Back: Brush from crown straight down to the nape of your neck. Work from center outward. Back waves take the longest to develop because the durag sits loosest here.
- Crown: Brush outward in all directions from the center point. Three to four minutes. This is the anchor of your entire pattern.
Use moderate, consistent pressure. You are training curls to lay in a specific direction, not scrubbing dishes. If your scalp feels raw or irritated, lighten up or switch to a softer brush until your scalp adjusts.
Step 4: Put On Your Durag
Immediately after brushing, tie your durag on. Snug but not tight. You should be able to fit one finger between the fabric and your forehead. Tying too tight causes headaches and, over time, can contribute to traction alopecia (gradual hair loss from sustained tension along the hairline), according to the American Academy of Dermatology.
Wear the durag for a minimum of 30 minutes after every brush session. Compression is what turns temporary brushwork into a permanent wave pattern. Without it, your curls spring right back to their natural position and every brush stroke was wasted.
Step 5: Repeat Daily (Morning and Night)
The minimum commitment is two brush sessions per day. Morning session: pomade, brush 10 to 15 minutes, durag on for 30+ minutes. Evening session: same routine, then keep the durag on all night while you sleep. Eight hours of uncompressed movement on a pillowcase will undo a significant amount of your progress.
Consistency is everything. Two sessions every day beats four sessions three days a week. Your curls need constant reinforcement to learn their new direction. Miss days and you are starting over.
The Wolfing Method: Why Patience Wins
Wolfing is the technique that separates people who have 360 waves from people who have a slightly textured low cut. It is also the phase where most beginners give up. Understanding why wolfing matters will keep you from making that mistake.
What Is Wolfing?
Wolfing means growing your hair out for four to eight weeks without getting a haircut, while continuing your daily brush and compression routine. The term comes from the appearance. By week three or four, your hair looks wild and unkempt. You look like you are “wolfing out.” But underneath that unruly exterior, your wave pattern is deepening in ways that short hair cannot achieve.
For a deep dive into wolfing strategy, read our full wolfing guide.
Why Wolfing Is Essential
When your hair is freshly cut at a 1.5 guard, the curls are too short to fully bend into a wave impression. They need length to lay over. Think of it this way: a fresh cut is a pencil sketch. Wolfing is tracing those pencil lines with ink, over and over, until the marks are permanent. Each wolf cycle deepens the grooves in your wave pattern. Without wolfing, you keep cutting away progress before it can set.
Managing the Ugly Stage
By week three of a wolf, your hair looks puffy. It does not lay flat. Your durag leaves compression lines that look messy instead of clean. You will be tempted to cut. I have been there. Every waver has been there. Here is how you survive it:
- Durag all day. Outside of work or school, keep it on. It manages the appearance and maintains compression.
- Double compression. Durag underneath, wave cap on top for extra hold when hair gets longer.
- More brush sessions. Bump to three or four per day during wolfing. The extra length needs more brushwork to stay trained.
- Extra moisture. Longer hair dries out faster. Use slightly more pomade or layer a light moisturizer underneath your pomade.
Wolfing Schedule: Beginners vs Advanced
| Wolf Duration | Best For | What to Expect |
|---|---|---|
| 4 weeks | First-time wavers | Pattern starts forming, may not be fully visible |
| 6 weeks | Ideal beginner wolf | Clear wave pattern, noticeable definition |
| 8 weeks | Intermediate wavers | Deep impressions, waves hold shape after a fresh cut |
| 10+ weeks | Advanced, thick 4C hair | Maximum depth, harder to manage daily |
For your first wolf, aim for six weeks. That is long enough to see real definition without making the process so miserable that you quit. After your first wolf, get a WTG cut at a 2 or 3 guard. Do a wash-and-style immediately after the cut. Then start your second wolf. Each cycle builds on the last.
Wave Brushing Techniques
Your brush is the most important tool in your wave kit. But owning a good brush means nothing if you do not know how to use it. Different brushes serve different purposes at different stages of your wave journey.
Brush Types and When to Use Each
Hard bristle brush: The heavy hitter. Hard boar bristles penetrate through longer hair during wolfing to reach the curl pattern underneath. Use the Torino Pro #350 Hard Brush during wolfing sessions when your hair has grown past three weeks. Do not start with a hard brush on freshly cut hair. You will scratch your scalp and create irritation that makes you want to skip sessions.
Medium bristle brush: Your daily workhorse. The Torino Pro #730 Medium or the Crown Quality Products Premium Brush sit in the sweet spot between pull and comfort. Medium bristles train the curl pattern without tearing up sensitive scalp. This is the brush you should use for 80% of your sessions, especially in the first two months.
Soft bristle brush: The finishing tool. A Diane Soft Wave Brush lays the waves down smooth after a hard or medium session. Use it as the final pass in your routine to polish the pattern and lay down any flyaways. Soft brushes do not train new patterns; they refine existing ones.
How Many Brush Strokes Per Session
Minimum commitment: 10 to 15 minutes per session, two sessions per day. Within each session, give each zone of your head at least 50 strokes. That breaks down roughly like this:
- Crown: 50-60 strokes radiating outward (3-4 minutes)
- Top/Front: 50-60 strokes forward from crown to forehead (3-4 minutes)
- Right side: 40-50 strokes downward toward ear (2-3 minutes)
- Left side: 40-50 strokes downward toward ear (2-3 minutes)
- Back: 40-50 strokes from crown down to nape (2-3 minutes)
That totals around 230 to 270 strokes per session. During wolfing, increase to 300+ strokes and add a third session in the middle of the day if possible.
Shower Brushing (Advanced Technique)
Once you have been waving for at least four weeks and have a visible pattern forming, shower brushing takes your definition to the next level. Here is how it works:
- Get in the shower and let warm water run over your hair for two to three minutes. Warm water opens the hair cuticle, making each curl more pliable and receptive to direction.
- Apply conditioner, not shampoo. Conditioner gives the brush slip so it glides through without pulling.
- Brush in your normal pattern: crown outward, all zones, moderate pressure.
- Rinse the conditioner out while brushing. Your curls are locking into position as the conditioner washes away.
- Pat dry gently (do not rub) and apply pomade immediately.
- Durag on right away. The combination of warm water, conditioner, and immediate compression creates some of the deepest wave impressions you will get all week.
Do not shower brush more than once or twice a week. Your scalp needs time between wet sessions to maintain its natural oil balance.
Durag vs Wave Cap: Which Should You Use?
Both serve the same fundamental purpose: compressing your hair after brushing to lock the wave pattern in place. But they are not interchangeable, and knowing when to use each one makes a difference. For a full comparison, read our wave cap vs durag breakdown.
Durag
The durag is the classic choice for a reason. The adjustable tails let you control exactly how tight the compression sits. Velvet durags provide the heaviest compression and are ideal for active wave training. Silk and satin durags retain more moisture and reduce friction, making them better for overnight wear and maintaining established patterns.
Pros: adjustable compression, multiple material options, the standard for wave training. Cons: takes practice to tie correctly, can shift during sleep if not tied properly.
Wave Cap
Wave caps are stretchy, pull-on caps that sit flush against your head. No tying required. They are convenient for quick compression after a brush session and comfortable for sleeping because they stay put without adjustment.
Pros: easy to put on, stays in place during sleep, no tying needed. Cons: less compression than a properly tied durag, limited adjustability, compression weakens as the cap stretches over time.
Material Breakdown
| Material | Compression | Moisture Retention | Best For |
|---|---|---|---|
| Velvet | Highest | Low | Active wave training, wolfing, post-brush compression |
| Silk | Medium | Highest | Overnight wear, maintaining established waves |
| Satin | Medium-Low | High | Overnight wear, budget-friendly option |
| Spandex (wave cap) | Medium | Low | Convenience, layering under a durag |
My recommendation for beginners: start with a velvet durag for daytime training and a silk durag for sleeping. Once your pattern is established after two to three months, you can use a wave cap for convenience on days when you do not have time for a full durag tie. For a complete guide to durags, including how to tie one properly, check our durag guide.
Best Products for 360 Waves
I have tried a lot of products over four years of waving. Here is what actually works, organized by category with honest assessments of each one.
Wave Pomades and Creams
| Product | Type | Hold | Price | Best For |
|---|---|---|---|---|
| Sportin’ Waves Pomade | Water-based pomade | Medium | $3-5 | Beginners, daily use, clean hold |
| WaveBuilder Cocoa & Shea | Cream pomade | Medium | $5-8 | Dry hair types, added moisture |
| Murray’s Superior | Petroleum-based grease | Heavy | $3-5 | Advanced wavers, maximum hold, thick 4C hair |
Murray’s gives the strongest hold of any wave product on the market, but it is heavy. It takes two or three washes to fully remove, and buildup can block your pattern if you overuse it. For beginners, start with Sportin’ Waves or WaveBuilder Cocoa & Shea. Once you know your hair’s relationship with product, experiment with heavier options. Our best wave grease guide covers eight products in detail.
Wave Brushes
| Product | Bristle Type | Price | Best For |
|---|---|---|---|
| Torino Pro #730 | Medium | $12-18 | Daily sessions, beginners |
| Torino Pro #350 | Hard | $12-18 | Wolfing, deep training |
| Crown Quality Products | Medium-Hard | $15-25 | Premium option, consistent bristle density |
| Diane Soft Brush | Soft | $5-8 | Finishing, laying waves down |
For a deep comparison of every brush worth buying, see the full best wave brush roundup.
Durags
| Product | Material | Price | Best For |
|---|---|---|---|
| Wavebuilder Velvet Durag | Velvet | $8-15 | Wave training, maximum compression |
| Slippery Customs Silk | Silk | $12-20 | Overnight wear, moisture retention |
Shampoo
Use WaveBuilder Wave Shampoo ($6-9) for wash days. It is sulfate-free, cleans without stripping natural oils, and does not disrupt your wave pattern. For more options, check the best wave shampoo guide.
Budget Setup vs Premium Setup
| Item | Budget Pick | Budget Price | Premium Pick | Premium Price |
|---|---|---|---|---|
| Brush | Torino Pro #730 | $12 | Crown Quality Products | $22 |
| Pomade | Sportin’ Waves | $3 | WaveBuilder Cocoa & Shea | $7 |
| Durag | Basic velvet durag | $5 | Wavebuilder Premium Velvet | $12 |
| Shampoo | Generic sulfate-free | $5 | WaveBuilder Wave Shampoo | $8 |
| Total | $25 | $49 |
Both setups will get you waves. The budget setup gets you started for the cost of a fast food meal. The premium setup gives you slightly better build quality and more refined formulas. Either way, technique and consistency matter more than how much you spend.
360 Waves Timeline: What to Expect
I am including this section because realistic expectations keep people from quitting. When I started, I almost gave up at week two because I expected visible waves by day five. That is not how this works. Here is what actually happens.
Week 1-2: The Invisible Phase
You are brushing twice a day, wearing your durag religiously, and seeing absolutely nothing. Maybe faint ripples under direct overhead light if you squint. Do not panic. Your curls are beginning to shift direction, but the hair is too short and untrained for a visible pattern. This is the phase where most people quit. Do not be most people.
Week 3-4: First Signs
Under good lighting, especially after removing your durag or during a wash-and-style, you see the beginnings of a pattern. It will be patchy. Some areas show faint waves while others are still flat. The areas you brush most thoroughly show the clearest pattern, which tells you where your technique needs adjustment. Identify your weak spots (usually sides and back) and give them extra time.
Week 5-8: Definition Phase (First Wolf Complete)
This is when it starts getting real. After a wash-and-style or first thing in the morning when you take the durag off, you see a clear wave pattern across most of your head. Not perfectly uniform, but undeniably there. If you wolfed for six weeks and then got a cleanup cut, your waves look crisp at the new length. People are starting to notice. You might get your first wave check.
Month 3: Pattern Locked
After two to three wolf cycles, your waves are visible in any lighting. The connections between zones are forming. Your front waves connect to your side waves, which connect to your back waves. The 360 pattern is taking shape. You are past the beginner phase.
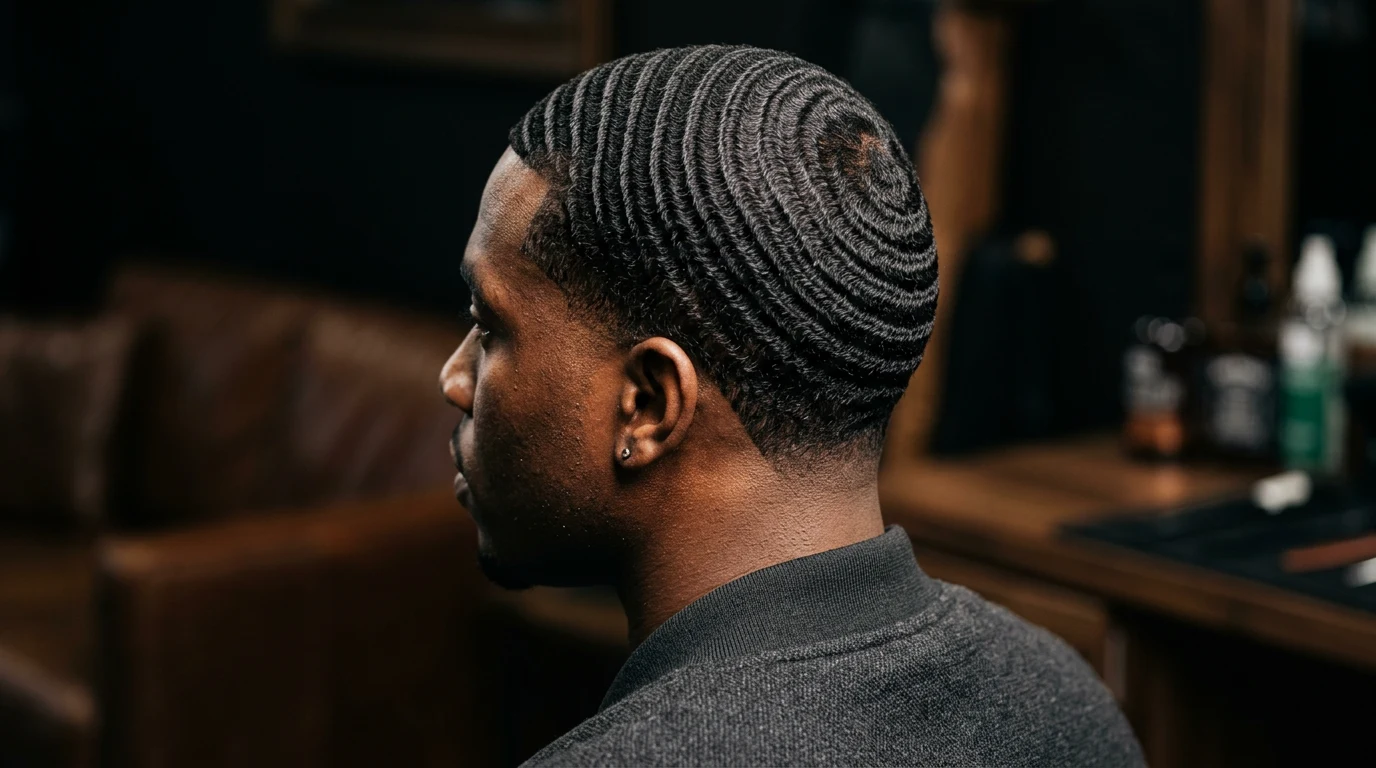
Month 6 and Beyond: Deep, Defined 360s
Six months of consistent work produces a deep, defined 360 wave pattern that holds its shape even right after a fresh cut. Your curls have been trained so thoroughly that they default to the wave position. Getting ready in the morning takes five minutes instead of 15 because the pattern maintains itself. You are now the person in the barbershop getting wave checks from other people. For taking your pattern even deeper, read our deep waves guide.
Timeline Summary
| Time | Phase | What You See | Key Action |
|---|---|---|---|
| Week 1-2 | Foundation | Almost nothing, faint ripples under light | Build the habit, do not skip sessions |
| Week 3-4 | Emerging | Patchy pattern, visible when wet or compressed | Identify weak spots, increase side/back brushing |
| Week 5-8 | Definition | Clear waves, first wolf complete | Get cleanup cut, start second wolf |
| Month 3 | Locked | Full 360 coverage, connections forming | Maintain routine, longer wolf cycles |
| Month 6+ | Elite | Deep, defined, self-maintaining pattern | Refine, experiment with 540/720 |
Common Wave Mistakes
I have made most of these mistakes myself. Learning from them saved my wave journey. Learning from this list can save yours.
1. Not Brushing Enough
Skipping sessions is the number one wave killer. One missed day is recoverable. Three missed days and you are losing trained curl direction. Two sessions per day is the absolute minimum. Three is better. Set phone alarms if you have to.
2. Using Too Much Product
More pomade does not equal better waves. Excess product weighs your hair down, clogs the curl pattern, and creates a greasy film that looks bad under light. A dime-sized amount per session is enough. If your hair looks wet or shiny after applying, you used too much.
3. Cutting Too Early
Getting a haircut before your wolf is complete is like pulling cookies out of the oven before they are done. Your pattern needs that extra length to set. Resist the urge to cut at week three or four. Give your wolf at least six weeks before your first cleanup.
4. Wrong Brush for Your Stage
Using a hard brush on freshly cut short hair irritates your scalp. Using a soft brush during wolfing does not penetrate deep enough. Match your brush to your hair length: medium for short to medium, hard for wolfing length, soft for finishing passes.
5. Inconsistent Durag Wear
Putting on your durag “when you remember” is not enough. Every brush session needs to be followed by at least 30 minutes of compression. Every night needs eight hours of compression while you sleep. No exceptions. Keep a backup durag by your bed so you never have an excuse.
6. Comparing to Veterans
Scrolling social media and comparing your two-week pattern to someone who has been waving for three years is a recipe for frustration. Those deep, spinning 720 waves took hundreds of wolf cycles and thousands of brush sessions to achieve. You are building something. Give it time.
7. Neglecting the Sides and Back
Most people focus on the top and front because those are the waves they see in the mirror. But 360 means 360. Your sides and back need equal attention. Spend at least as much time brushing the sides and back as you do the top.
8. Brushing in the Wrong Direction
If you are not brushing from the crown outward, you are creating conflicting curl directions that result in a messy, undefined pattern. Find your crown, and make every stroke originate from that point. Consistency of direction is more important than speed or pressure.
Frequently Asked Questions
Can I get 360 waves with straight hair?
No. 360 waves require naturally curly or coily hair texture, specifically type 3C through 4C. Straight hair does not have the curl structure needed to train into a wave pattern. The tighter your natural curl, the more defined your waves will be.
How long does it take to get 360 waves?
Most beginners see a faint pattern within three to four weeks. A clearly defined 360 wave pattern usually takes six to eight weeks of consistent daily brushing and compression. Deep, fully connected waves that hold after a haircut develop over three to six months.
Should I brush my waves wet or dry?
Both, at different times. Dry brushing should make up the majority of your sessions. Wet or damp brushing after a shower is an advanced technique that creates deeper impressions because warm water opens the hair cuticle. Do one wet brush session per week on wash day and dry brush for your daily morning and evening sessions.
How often should I wash my waves?
Once a week during wolfing, twice a week during non-wolfing periods. Use a sulfate-free shampoo and wash in the same direction you brush (crown outward) to maintain your wave training. Always follow a wash with an immediate brush session and durag compression while hair is still damp.
What is the difference between 360, 540, and 720 waves?
The numbers refer to degrees of rotation. 360 waves radiate outward from the crown in a full circle. 540 waves add a half rotation for deeper wrapping. 720 waves feature a double rotation where the pattern spirals outward and wraps around the head twice. Start with 360 and progress naturally as your pattern deepens over months of training.
Do 360 waves damage your hair?
Not when done correctly. The two risks are tying your durag too tight (which can cause traction alopecia over time) and using a brush that is too hard on short or freshly cut hair (which can irritate the scalp). Keep durag tension comfortable, start with a medium brush, and keep your scalp moisturized. With proper technique, waves are a completely safe and healthy hairstyle.
Start Today
Getting 360 waves is not complicated. It is just consistent. The technique is straightforward: brush from the crown outward, compress with a durag, repeat every day, and resist the urge to cut during your wolf. The products are affordable. A complete starter kit costs less than $30. The only variable is whether you are willing to put in the daily work for six to eight weeks before seeing real results.
I will not pretend the journey is not frustrating at times. Week two, when you have been brushing twice a day and see absolutely nothing, is humbling. Week three of a wolf, when your hair is puffy and you feel like you look rough, takes real discipline. But every person you have ever seen with clean, defined waves went through those exact same weeks. They just kept brushing.
If you are reading this, you already have the curiosity. Now get the tools. A medium wave brush and a velvet durag are all you need on day one. Everything else, the technique, the pattern depth, the confidence that comes with a wave check, builds from there.
Trust the process.