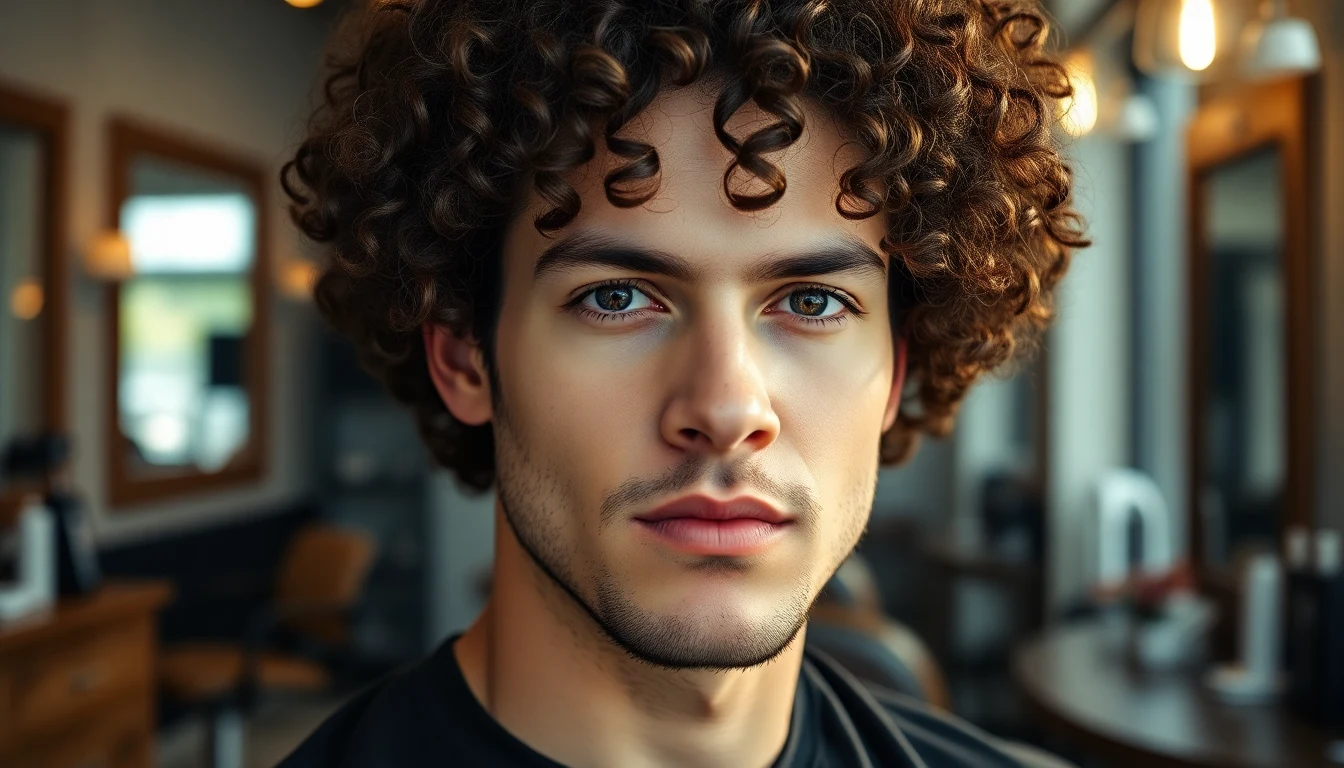
Last updated: February 2026 by Jaylen Torres, Curl Specialist & Trichology Educator
The first time I used a diffuser, I held a blow dryer up to my hair, blasted it on high, and waved it around like I was trying to dry a painting. My curls went from defined to a frizz tornado in under 3 minutes. I put the diffuser away and did not touch it again for a year. When I finally learned the actual technique, the results were completely different: more volume, faster drying, and definition that looked better than air drying alone.
Diffusing curly hair for men works, but only if you do it right. The technique is specific, the heat settings matter, and the way you hold the diffuser determines whether you get defined, voluminous curls or a frizzy disaster. This guide covers everything: whether diffusing is worth it for your curl type, the exact technique by hair length, heat settings, common mistakes, and when to skip it entirely. For expert guidance on this topic, consult the American Academy of Dermatology’s curly hair guide.
If you need help with the pre-diffusing steps (cleansing, conditioning, product application), start with our complete curly hair routine.
What Diffusing Actually Does (And Does Not Do) : Diffusing Curly Hair For Men
A diffuser is a bowl-shaped attachment for your blow dryer with “fingers” (prongs) that distribute airflow over a wider area. Instead of a concentrated blast of hot air (which destroys curl clumps), a diffuser gently circulates warm air around your curls from multiple angles.
What diffusing does: Mastering diffusing curly hair for men takes practice but delivers great results.
- Speeds up drying time by 50-70% compared to air drying.
- Adds volume at the roots (air drying tends to leave roots flat from gravity while wet).
- Sets gel cast faster, which means your curl definition locks in sooner.
- Can enhance curl definition by encouraging clumps to form more tightly as they dry.
What diffusing does not do:
- Create curls. If your hair is straight, a diffuser will not make it curly.
- Replace products. You still need leave-in, cream, or gel before diffusing.
- Work without technique. Waving a diffuser at your head like a normal blow dryer creates frizz.
Should You Diffuse? Decision Guide by Curl Type
| Curl Type | Diffuse? | Why / Why Not |
|---|---|---|
| 2A-2B | Optional | Air drying works fine for short wavy hair. Diffusing adds slight volume but the benefit is minimal for very loose patterns. |
| 2C-3A | Recommended | Good payoff. Adds volume at roots and enhances wave-to-curl definition that air drying sometimes flattens. |
| 3A-3B | Strongly recommended | Best results here. Dramatic volume improvement, faster drying, and definition that holds better than air drying. |
| 3C-4A | Recommended with caution | Speeds up long drying time significantly. Use lowest heat to avoid damage on more fragile tight coils. |
Choosing the Right Diffuser
Not all diffusers are equal. Here is what to look for.
| Feature | What to Look For | Why |
|---|---|---|
| Bowl size | Wide enough to cup a section of your curls | Larger bowl = more curls per section = faster drying |
| Finger length | Long fingers for 3A+ curls, short fingers for 2A-2C | Long fingers reach the roots without compressing curls |
| Material | Silicone is gentler than hard plastic | Silicone fingers do not snag curls, reducing frizz |
| Fit | Must fit your specific blow dryer nozzle | Universal fit diffusers exist but sometimes wobble |
Budget option: Most blow dryers under $30 come with a diffuser attachment that works fine. You do not need a $50 premium diffuser unless you are diffusing daily and want the best possible experience. For men with shorter hair, even a basic diffuser does the job because there is less hair to manage.
The Correct Diffusing Technique (Step by Step)
This technique works for all curl types from 2C through 4A. Adjust heat settings and time based on your type (see the chart below).
Before You Diffuse
- Complete your full wash-day routine: shampoo, condition, leave-in, styler (gel or cream). See our wash day routine guide for details.
- Plop your hair in a microfiber towel or t-shirt for 10-15 minutes. This removes excess water so the diffuser works on damp-to-wet hair, not dripping-wet hair. Diffusing dripping hair wastes time and reduces definition.
- Do not touch your curls with your hands after plopping. Any finger contact introduces frizz before you even start.
The Diffusing Process
- Turn on the dryer to medium heat, low speed. Confirm the setting before bringing it near your hair.
- Flip your head to one side or forward (if your hair is long enough). This allows gravity to pull curls away from your scalp, creating root volume.
- Bring the diffuser up to your hair from underneath. Let your curls fall into the bowl naturally. The fingers of the diffuser should reach your roots while the bowl cups the curl lengths.
- Hold still for 20-30 seconds. Do not move, shake, or scrunch. Let the warm air circulate through the bowl and slowly dry that section.
- Pull the diffuser straight away from your head (do not drag it sideways). Move to the next section.
- Work around your entire head section by section: left side, right side, back, crown, front.
- Repeat the circuit. Each section needs 2-3 passes of 20-30 seconds to get to 80% dry.
- Stop at 80% dry. Let the last 20% air dry naturally. Over-diffusing past 100% dry causes frizz and dryness.
After Diffusing
Wait until your hair is fully dry (including that last 20% that air dries). If you used gel, you will have a gel cast at this point. Scrunch out the crunch gently to reveal soft, defined curls. Apply a tiny drop of oil to your palms before scrunching for added shine. See our curl definition guide for the full SOTC technique.
Heat and Speed Settings by Curl Type
| Curl Type | Heat Setting | Speed Setting | Why |
|---|---|---|---|
| 2C-3A | Medium | Low to medium | These curls handle moderate heat well and benefit from faster drying |
| 3A-3B | Medium | Low | Low speed prevents disrupting the forming gel cast |
| 3C-4A | Low to medium | Low | Tight coils are more prone to heat damage; gentler settings protect the cuticle |
| High porosity (any type) | Low | Low | Already-damaged cuticle needs the least heat possible |
The cool-shot button: After your final diffusing pass, hit the cool-shot button and do one more quick pass over your curls. The cool air helps set the gel cast and closes the cuticle slightly, adding shine. This is a finishing move, not a drying step.
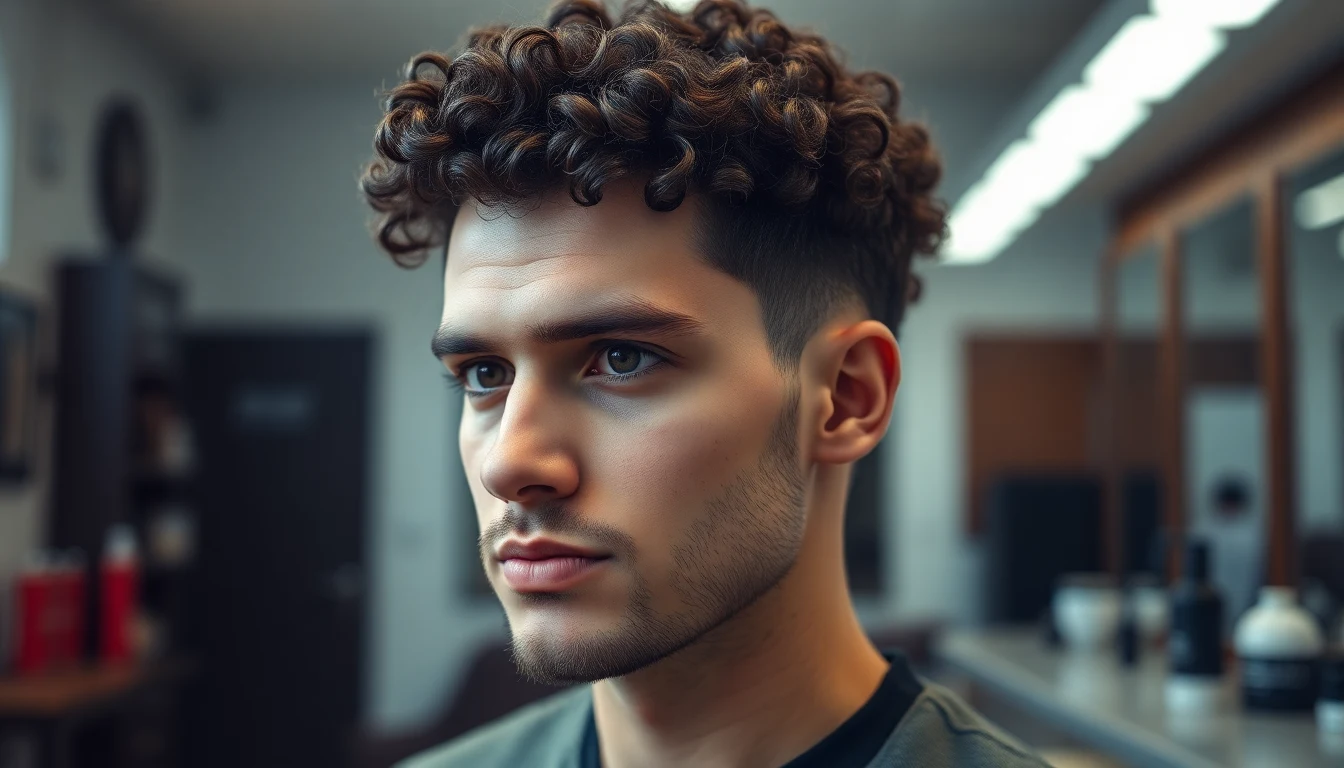
Diffusing Short Curly Hair and Fades
Most diffusing tutorials assume shoulder-length hair. Men with curly fades and short-to-medium tops need an adjusted technique. Understanding diffusing curly hair for men is key to a great grooming routine.
For a curly fade (2-4 inch top):
- Only diffuse the top. The faded sides and back are too short and do not need it.
- Instead of cupping from underneath, press the diffuser bowl against the top of your head with the opening facing up. Your curls sit in the bowl while heat rises through them.
- Hold for 20-30 seconds, lift straight off, reposition, repeat.
- Short hair dries faster. Total diffusing time: 10-15 minutes.
For all-over short curls (2-3 inches):
- Press the diffuser against different sections of your head, holding for 15-20 seconds each.
- The short fingers of the diffuser will reach your scalp, which is fine. Let them support the curls.
- Total time: 8-12 minutes.
Short hair sees less dramatic results from diffusing than longer hair because there is less length to create volume. But the faster drying time alone makes it worthwhile, especially on busy mornings.
Air Drying vs. Diffusing: Comparison
| Factor | Air Drying | Diffusing |
|---|---|---|
| Drying time | 1-4 hours depending on length and density | 15-30 minutes |
| Root volume | Lower (gravity pulls wet curls flat) | Higher (heat + positioning lift roots) |
| Frizz risk | Low (no heat disruption) | Low-medium (if technique is correct) |
| Definition | Good | Good to excellent (cast sets faster) |
| Convenience | Hands-free but time-consuming | Requires active effort but much faster |
| Heat damage | None | Minimal on medium heat, negligible with occasional use |
| Best for | Guys with time, 2A-3A types, summer months | Busy mornings, 3A-4A types, cold months when air drying takes forever |
My recommendation: Diffuse on wash days when you need to leave the house within an hour. Air dry on days when you have time or when it is warm enough that your hair dries quickly naturally. You do not have to commit to one method forever. Most guys alternate based on their schedule.
Diffusing Mistakes That Cause Frizz
- Moving the diffuser around. Hold it still. Moving it disrupts curl clumps mid-formation. 20-30 seconds in one spot, then reposition.
- High heat. Medium or low only. High heat raises the cuticle and strips moisture. The extra speed is not worth the frizz.
- High speed. Powerful airflow scatters curl clumps. Low speed lets the air circulate inside the bowl without disrupting formation.
- Diffusing dripping wet hair. Plop for 10-15 minutes first. Starting from damp (not dripping) gives better definition and faster results.
- Touching curls while diffusing. Hands off. If a curl falls out of the bowl, reposition the bowl, do not push it back with your fingers.
- Going past 100% dry. Stop at 80% and let the rest air dry. Over-diffusing makes curls crunchy, frizzy, and brittle.
- Scrunching too early. Wait until fully dry before scrunching out the gel cast. Scrunching at 80% dry when you stop diffusing will cause frizz. Be patient.
Product Prep for Best Diffusing Results
Your product application before diffusing matters as much as the diffusing technique itself. Here is the ideal pre-diffuse product routine.
| Step | Product | Purpose |
|---|---|---|
| 1 | Aunt Jackie’s Leave-In | Moisture base, heat protection |
| 2 | SheaMoisture Curl Enhancing Smoothie (3B+ only) | Curl definition, moisture lock |
| 3 | Eco Styler Olive Oil Gel | Hold and gel cast formation |
The gel is critical. It creates the cast that protects your curl shape during diffusing. Without gel, diffusing just dries your hair with decent volume but mediocre definition. With gel, the cast forms faster under heat, locks in the curl shape, and then you scrunch it out after for soft, defined, voluminous curls. For gel comparisons, see our best gel guide. When it comes to diffusing curly hair for men, technique matters most.
Frequently Asked Questions
Should men diffuse curly hair?
Yes, if you want faster drying time, more volume, or better curl definition than air drying provides. Diffusing works particularly well for types 3A through 4A where air drying can take hours and sometimes leaves curls flat at the roots. For types 2A through 2C, diffusing is optional since air drying usually gives good results with shorter hair. The key is using the right heat setting and technique to avoid frizz.
What heat setting should I use to diffuse curly hair?
Medium heat and low speed for most curl types. High heat causes frizz and dries out curls. Low heat takes too long to be practical. The medium setting provides enough warmth to evaporate water without overheating the cuticle. For damaged or high-porosity hair, use the lowest heat setting to avoid further cuticle damage. Some diffusers have a cool-shot button, which is useful for setting the final shape without heat.
Does diffusing cause frizz?
Diffusing can cause frizz if done incorrectly. The three main causes are: using too high a heat setting (which raises the cuticle), moving the diffuser around instead of holding it still (which disrupts curl clumps), and touching hair with your hands during the process. To avoid frizz: use medium heat, hold the diffuser in one position for 30 seconds before moving it, and never scrunch or touch your curls while diffusing.
How long should you diffuse curly hair?
For men’s short to medium length curly hair, 15 to 25 minutes is typical. Short hair (1 to 3 inches) can be fully diffused in 10 to 15 minutes. Medium length (3 to 6 inches) takes 15 to 25 minutes. Stop diffusing when hair is about 80 percent dry and let the remaining moisture evaporate naturally. Over-diffusing (going past 100 percent dry) causes frizz and dryness.
Can you diffuse a curly fade?
Yes, and a fade is actually the easiest cut to diffuse because you only need to focus on the curly top section. Hold the diffuser against the top of your head with the bowl facing up, letting the curls rest in the bowl. Ignore the faded sides entirely. The focused area means faster drying time and less risk of over-processing the shorter hair around the sides and back.
Frequently Asked Questions
Does diffusing curly hair for men actually work or is it just hype?
Yes, diffusing curly hair for men works effectively when done with the correct technique, proper heat settings, and the right diffuser attachment. The key difference between success and frizz is using low to medium heat, the right speed, and holding the diffuser correctly against your curls rather than waving it around.
What heat setting should I use when diffusing my curls?
The ideal heat setting depends on your curl type, but most men should start with low to medium heat to minimize frizz and heat damage. Higher heat settings work faster but risk damaging curl definition and causing the frizz you’re trying to avoid.
Can you diffuse short curly hair and fades without messing up the style?
Yes, you can diffuse short curly hair and fades by using a smaller diffuser attachment and directing airflow away from fade lines to keep them clean and defined. The shorter your hair, the faster the drying process, so use lower heat and shorter diffusing sessions to maintain your style.
How long should you diffuse curly hair to get the best results?
Most men should diffuse for 10-20 minutes depending on hair length and thickness, though you should stop once your curls feel about 70-80% dry to prevent over-drying and frizz. Going too long or to complete dryness increases the risk of losing curl definition and creating a frizzy appearance.