How to Clean Hair Clippers (Step-by-Step Guide)
If your clippers are tugging, pulling, or leaving uneven lines, the problem probably is not the blades. It is the buildup. Hair fragments, skin oils, and product residue accumulate between those blades faster than most guys realize. I have been cutting my own hair for over a decade, and learning how to clean hair clippers properly was the single biggest upgrade to my home haircut routine. A five-minute cleaning after each cut keeps your clippers performing like the day you unboxed them.

Why Cleaning Your Hair Clippers Matters
Dirty clippers do not just cut poorly. They can cause skin irritation, razor bumps, and even minor infections. When hair and debris pack between the cutting blade and the guide blade, friction increases. That friction generates heat, dulls the edges faster, and forces the motor to work harder. The result: a clipper that overheats, pulls hair instead of cutting it, and dies years before it should.
Regular cleaning solves all of that. It keeps the blades cool, the cut precise, and the motor running efficiently. Whether you own professional-grade clippers or a budget set, maintenance is what separates a tool that lasts six months from one that lasts six years.
What You Need to Clean Hair Clippers
Before you start, gather these supplies. You probably have most of them already:
- A small cleaning brush (most clippers include one)
- Andis Cool Care Plus 5-in-1 for cooling, disinfecting, and lubricating
- Wahl Clipper Oil for blade lubrication
- Barbicide Disinfectant for deep sanitation (optional but recommended)
- An old toothbrush for stubborn debris
- A small bowl for soaking (if doing a deep clean)
- Paper towels or a microfiber cloth
- A screwdriver (Phillips head, usually included with clippers)
If you already keep your blades oiled regularly, you are halfway there. If you have never oiled your clippers, that guide covers the fundamentals.
How to Clean Hair Clippers: Step-by-Step
This process works for every major brand: Wahl, Andis, Oster, BaBylissPRO, and others. The blade mechanisms differ slightly, but the cleaning principles are universal.
Step 1: Power Off and Unplug
This sounds obvious, but I have seen guys try to brush out clippers while they are still running. Turn them off. If they are corded, unplug them. If you are using cordless clippers, make sure the power is completely off, not just paused.
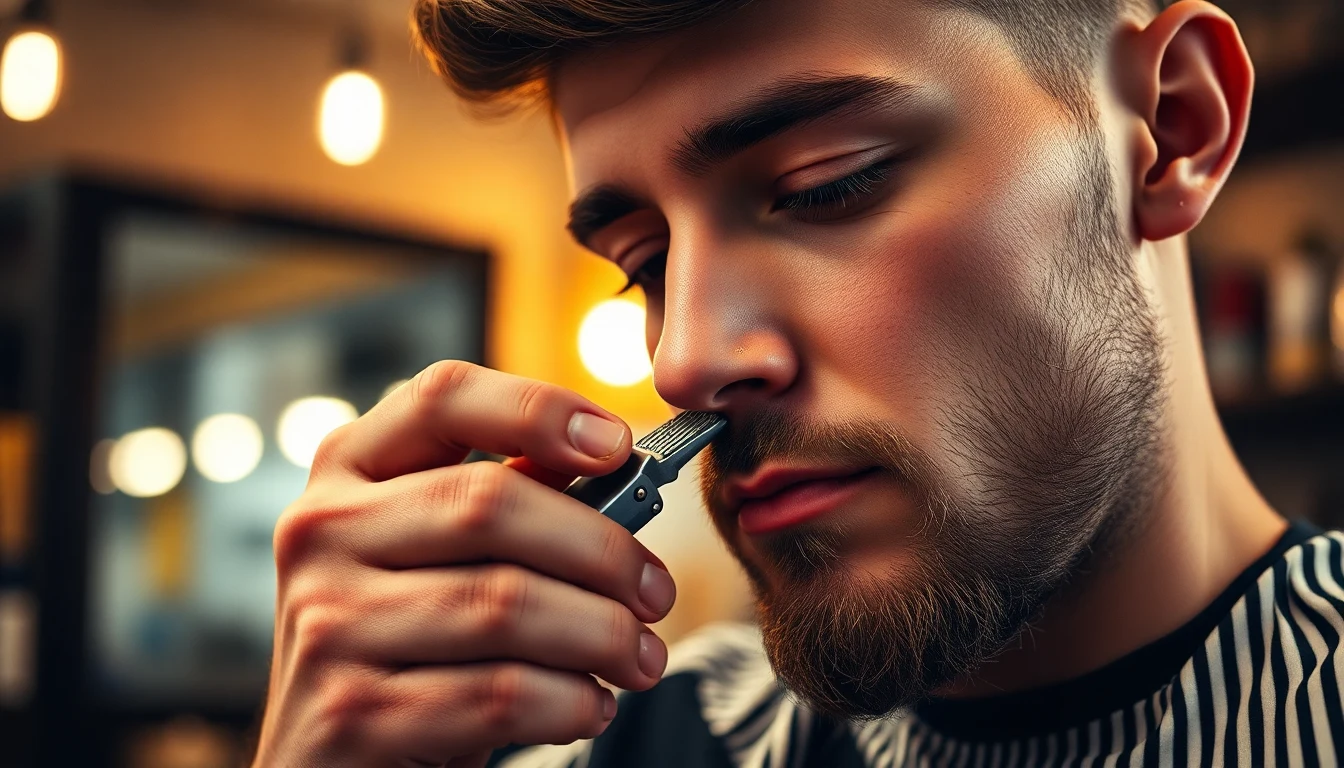
Step 2: Remove the Guard and Brush Out Loose Hair
Take off whatever guard attachment you have on. Using the cleaning brush that came with your clippers (or an old toothbrush), brush downward through the blade teeth. Flip the clippers upside down while you do this so gravity helps pull debris out instead of pushing it deeper.
Brush from the back of the blade toward the front edge. Do this for 30 to 60 seconds. You will be surprised how much hair comes out, even if the clippers look clean from the outside. (We recommend this Jack & Rose Clippers and Trimmers.) Mastering how to clean hair clippers takes practice but delivers great results.
Step 3: Remove the Blades
Most clippers have two screws holding the blade assembly to the body. Unscrew them with the included Phillips screwdriver and carefully lift the blade set away from the clipper body. You will see two blades: the larger stationary blade (also called the guide blade) and the smaller cutting blade that moves back and forth. Mastering how to clean hair clippers takes practice but delivers great results. (We recommend this Novah® Professional Hair Clippers for Men,.)
Set the screws somewhere safe. A small dish or magnetic tray works well. Losing a blade screw during cleaning is a frustrating mistake I have made more than once.
Step 4: Clean Between the Blades
With the blades removed, use your brush to thoroughly clean both the top and bottom of each blade. Pay special attention to the space between the teeth and the area where the two blades overlap. This is where the worst buildup hides.
For stubborn, caked-on residue (especially if you use pomade, wax, or heavy styling products), dip the toothbrush in a small amount of rubbing alcohol and scrub gently. The alcohol dissolves product buildup without damaging the blade coating.
Step 5: Clean the Clipper Body
While the blades are off, clean the clipper body too. Hair fragments work their way inside through every gap. Use the brush to clear debris from around the blade mounting area, the motor housing vents, and any crevices near the power switch. A can of compressed air works well for getting into tight spots.
Do not submerge the clipper body in any liquid. The motor and electrical components cannot handle that. For more guidance, American Academy of Dermatology provides expert resources on skin and hair care.
Step 6: Disinfect the Blades
Brushing removes hair, but it does not kill bacteria. For proper sanitation, you have two solid options:
Option A: Spray Disinfectant. Andis Cool Care Plus 5-in-1 is the easiest solution. Spray both blades generously, let them sit for 30 seconds, then wipe dry with a paper towel. This product cools, disinfects, lubricates, and prevents rust all at once.
Option B: Barbicide Soak. For a deeper disinfection (especially if you share clippers or cut other people’s hair), mix Barbicide according to the label instructions and soak the blades for 10 minutes. Rinse with water afterward and dry immediately. Do not soak longer than recommended, as prolonged exposure can affect the blade finish.
Step 7: Oil the Blades
Once the blades are clean and dry, apply Wahl Clipper Oil or a similar blade lubricant. Place two to three drops across the top blade teeth and one drop on each side where the blades overlap. Turn the clippers on for 10 to 15 seconds to distribute the oil evenly, then wipe off any excess with a cloth. (We recommend this Wahl Clipper Rechargeable Cord/Cordless Haircutting &.)
Oiling after every cleaning is non-negotiable. Dry blades generate friction, heat up faster, and dull prematurely. For a full breakdown of oiling technique, check out our clipper oiling guide. Understanding how to clean hair clippers is key to a great grooming routine. Understanding how to clean hair clippers is key to a great grooming routine.
Step 8: Reassemble and Test
Place the cutting blade back onto the stationary blade, making sure the alignment is correct. The cutting blade teeth should sit about 1mm behind the stationary blade teeth, not flush and not protruding past them. This gap is what prevents the blades from nicking skin.
Tighten the screws evenly, alternating between them to maintain consistent pressure. Turn the clippers on and listen. They should sound smooth and consistent. If you hear rattling or the pitch changes, the blades may be misaligned. Power off and readjust.

- BUILT FOR PROS, PERFECT FOR FAMILIES – Engineered with barber-grade precision an
- SUPER TORQUE – The MK10 clipper features a 9000 RPM magnetic motor for smooth, s
- DLC-COATED BLADE – Designed for performance and durability, the MK10’s DLC blade
Quick Clean vs. Deep Clean: When to Do Each
Not every session requires a full blade removal. Here is how I break it down:
Quick Clean (After Every Haircut)
- Brush out loose hair from the blade teeth
- Spray with Andis Cool Care or Oster Kool Lube
- Apply two to three drops of clipper oil
- Run for 10 seconds, wipe excess
- Time: 2 minutes
Deep Clean (Every 3 to 5 Haircuts)
- Full blade removal
- Thorough brushing and scrubbing
- Disinfection with Barbicide or spray
- Body cleaning and vent clearing
- Oil and reassemble with proper alignment
- Time: 10 to 15 minutes
If you cut your hair weekly, that means a deep clean roughly once a month. If you cut less frequently, deep clean every other month at minimum.
How to Clean Specific Clipper Types
Wahl Clippers
Wahl clippers (like the Wahl Senior or Wahl Magic Clip) use a standard two-screw blade system. The blade lever on the side adjusts the cutting length but also creates a gap where hair collects. Toggle the lever fully up and fully down while brushing to clear debris from this hidden area.
Andis Clippers
Andis models (like the Andis Master) often use a different blade attachment system. Some snap on and off without screws. Check your model’s manual for the correct removal method. The Andis Cool Care spray was designed specifically for their blades, making it the ideal match.
Cordless and Waterproof Clippers
Some newer cordless models are marketed as washable. If your clippers are rated IPX6 or IPX7, you can rinse the blade head under running water. But even with waterproof clippers, you still need to oil the blades afterward. Water displaces the existing lubrication, so skipping the oil step after a rinse will cause problems fast.
Common Cleaning Mistakes to Avoid
Over the years, I have made just about every mistake possible. Here are the ones that cost me the most:
- Using WD-40 instead of clipper oil. WD-40 is a solvent, not a lubricant. It will strip the protective coating and gum up the blade mechanism over time. Always use oil formulated specifically for clipper blades.
- Soaking the entire clipper in liquid. Only the blade assembly should get wet. Submerging the motor housing will destroy the electronics.
- Skipping oil after disinfecting. Disinfectants strip lubrication. If you spray or soak, you must re-oil immediately afterward.
- Over-tightening blade screws. Crank those screws too tight and the blades cannot move freely. Snug is good. Tight is not.
- Ignoring the blade lever area. That adjustable lever creates a pocket where fine hair and oil residue accumulate. Brush it out regularly.
How Often Should You Replace Clipper Blades?
Even with perfect maintenance, blades wear out. The cutting edges gradually round off with use, and no amount of oiling can restore a truly dull blade. Here are the general timelines: When it comes to how to clean hair clippers, technique matters most. (We recommend this Yineel Hair Clippers for Men, Professional.)
- Home use (1 to 2 cuts per week): Replace blades every 12 to 18 months
- Professional use (multiple cuts per day): Replace blades every 3 to 6 months
- Ceramic blades: Last 2 to 3 times longer than standard steel blades
When it is time to replace, consider upgrading. The Wahl 5-Star Blade and Andis Master Blade are both excellent choices that deliver a noticeably sharper cut than stock blades. When it comes to how to clean hair clippers, technique matters most.
If your blades are relatively new but still not cutting well, the issue might be alignment rather than wear. Our guide on how to use hair clippers covers blade alignment in detail.
Pro Tips for Keeping Clippers Clean Longer
- Wash your hair before cutting. Clean hair produces less residue and fewer oils that gum up blades.
- Dry your hair completely. Wet hair clumps together and packs into blade gaps more aggressively than dry hair.
- Use the right guard size. Forcing a guard that does not fit creates uneven pressure that pushes hair into places it should not go.
- Store clippers in a case or pouch. Tossing them in a drawer exposes the blades to dust, lint, and moisture. A simple protective case makes a noticeable difference.
- Run the clippers for 10 seconds after oiling. This distributes the lubricant evenly across the blade surface instead of leaving it pooled at the application points.
Frequently Asked Questions
Can I use rubbing alcohol to clean clipper blades?
Yes, isopropyl alcohol (70% or higher) works well for removing product buildup and disinfecting blades. Apply it with a brush or cloth, let the blades air dry completely, and then oil them immediately afterward. Alcohol strips lubrication, so the oiling step is critical.
How do I clean hair clippers without removing the blades?
For a quick clean, brush the blade teeth thoroughly, spray with Andis Cool Care or a similar cleaner, and apply clipper oil. This works for maintenance between deep cleans, but you should still remove the blades every three to five cuts to clear hidden buildup.
Can I wash clipper blades with soap and water?
Only if the blade assembly is fully detached from the clipper body. Wash with warm soapy water, rinse, dry thoroughly (a hair dryer on low heat works well), and oil immediately. Never get water near the motor or electrical components.
Why do my clippers get hot so quickly?
The most common cause is debris buildup between the blades, which increases friction. Insufficient oiling is the second culprit. Clean and oil your blades following the steps above, and the overheating should stop. If it persists after a thorough cleaning, the blades may be worn out and need replacing.
How long does clipper oil last once applied?
Clipper oil provides effective lubrication for one to two cutting sessions. After that, the oil breaks down from heat and friction. This is why oiling after every single use is the standard recommendation from every major manufacturer.
Keep Your Clippers Cutting Like New
Learning how to clean hair clippers is one of those skills that takes five minutes to learn and pays off for years. A properly maintained clipper cuts cleaner, runs cooler, and lasts dramatically longer than one that gets tossed in a drawer after each use. Build the habit: brush, spray, oil, done. Your clippers (and your hairline) will thank you.
Ready to level up your home cutting game? Check out our guide to the best clippers for Black men for our top-tested recommendations, or dive into how to use hair clippers for technique tips that match your freshly maintained blades.
Further reading: For research-backed grooming advice, see Healthline Men’s Health.
Explore more tips at CulturedGrooming.com.
Further reading: For research-backed grooming advice, see Healthline Men’s Health.
Frequently Asked Questions
How often should I clean my hair clippers to keep them working properly?
You should do a quick clean after every haircut to remove loose hair and buildup, and perform a deep clean every 3 to 5 haircuts. This regular maintenance prevents tugging, uneven lines, and keeps your clippers performing like new.
Can I clean hair clippers without removing the blades?
Yes, you can do a quick clean without removing the blades by powering off, brushing out loose hair, and wiping the clipper body with a dry cloth. However, removing the blades allows you to clean between them more thoroughly and is recommended for deeper cleaning every few haircuts.
What can happen if I don’t clean my clippers regularly?
Dirty clippers accumulate hair fragments, skin oils, and product residue that cause tugging, pulling, and uneven cutting lines. They can also lead to skin irritation and razor bumps, which is especially important to avoid if you have textured or sensitive hair.
Should I oil my clipper blades after cleaning them?
Yes, oiling the blades after cleaning is an important step that reduces friction and keeps your clippers running smoothly. Apply a small amount of clipper oil to the blades before reassembling, and the oil will last through multiple haircuts before needing reapplication.